
5 creative tips to elevate your outdoor photography
Have you been trying to capture the outdoors but the images just don’t come out quite the way you want them to? Maybe you photographed a beautiful vast landscape, but the picture doesn’t really capture its magnificence. Or maybe the colours aren’t quite how you remember them.
Outdoor photography is no easy feat if you want to take images that capture the viewer’s attention. It requires the art of noticing, attention to detail, and the willingness to sharpen your craft over years.
These five creative tips are not a definitive recipe for capturing that one perfect outdoor photo, nor are they a fast track to becoming the best outdoor photographer.
Instead, they’re more of a guide — inspiration if you wish — to try something new, think outside the box, and tell a deeper story with the images you take outdoors.
1. Convey a feeling of grandeur by including people in the frame
Some of the best outdoor photographs are those that convey the vastness and grandeur of a landscape. However, this isn’t always easy to do.
Maybe the landscape doesn’t have one strong feature that stands out compared to everything else. There are many interesting elements, which makes it hard to focus attention and capture the essence of the landscape. In other words, the place is amazing in real life but in the picture, it just looks so flat.
A relatively simple way to work around this — and create a feeling of grandeur and humility — is to add people to the scene.
A hiker making his way down from the top of a mountain, a swimmer enjoying himself in an ocean pool, or a surfer riding the waves. These are just some examples of creating a contrast between the large landscape and the tiny human.
Aiming to portraying the connection between human and nature can lead to some extraodrinary images.

A person walking to the small church of Ranui
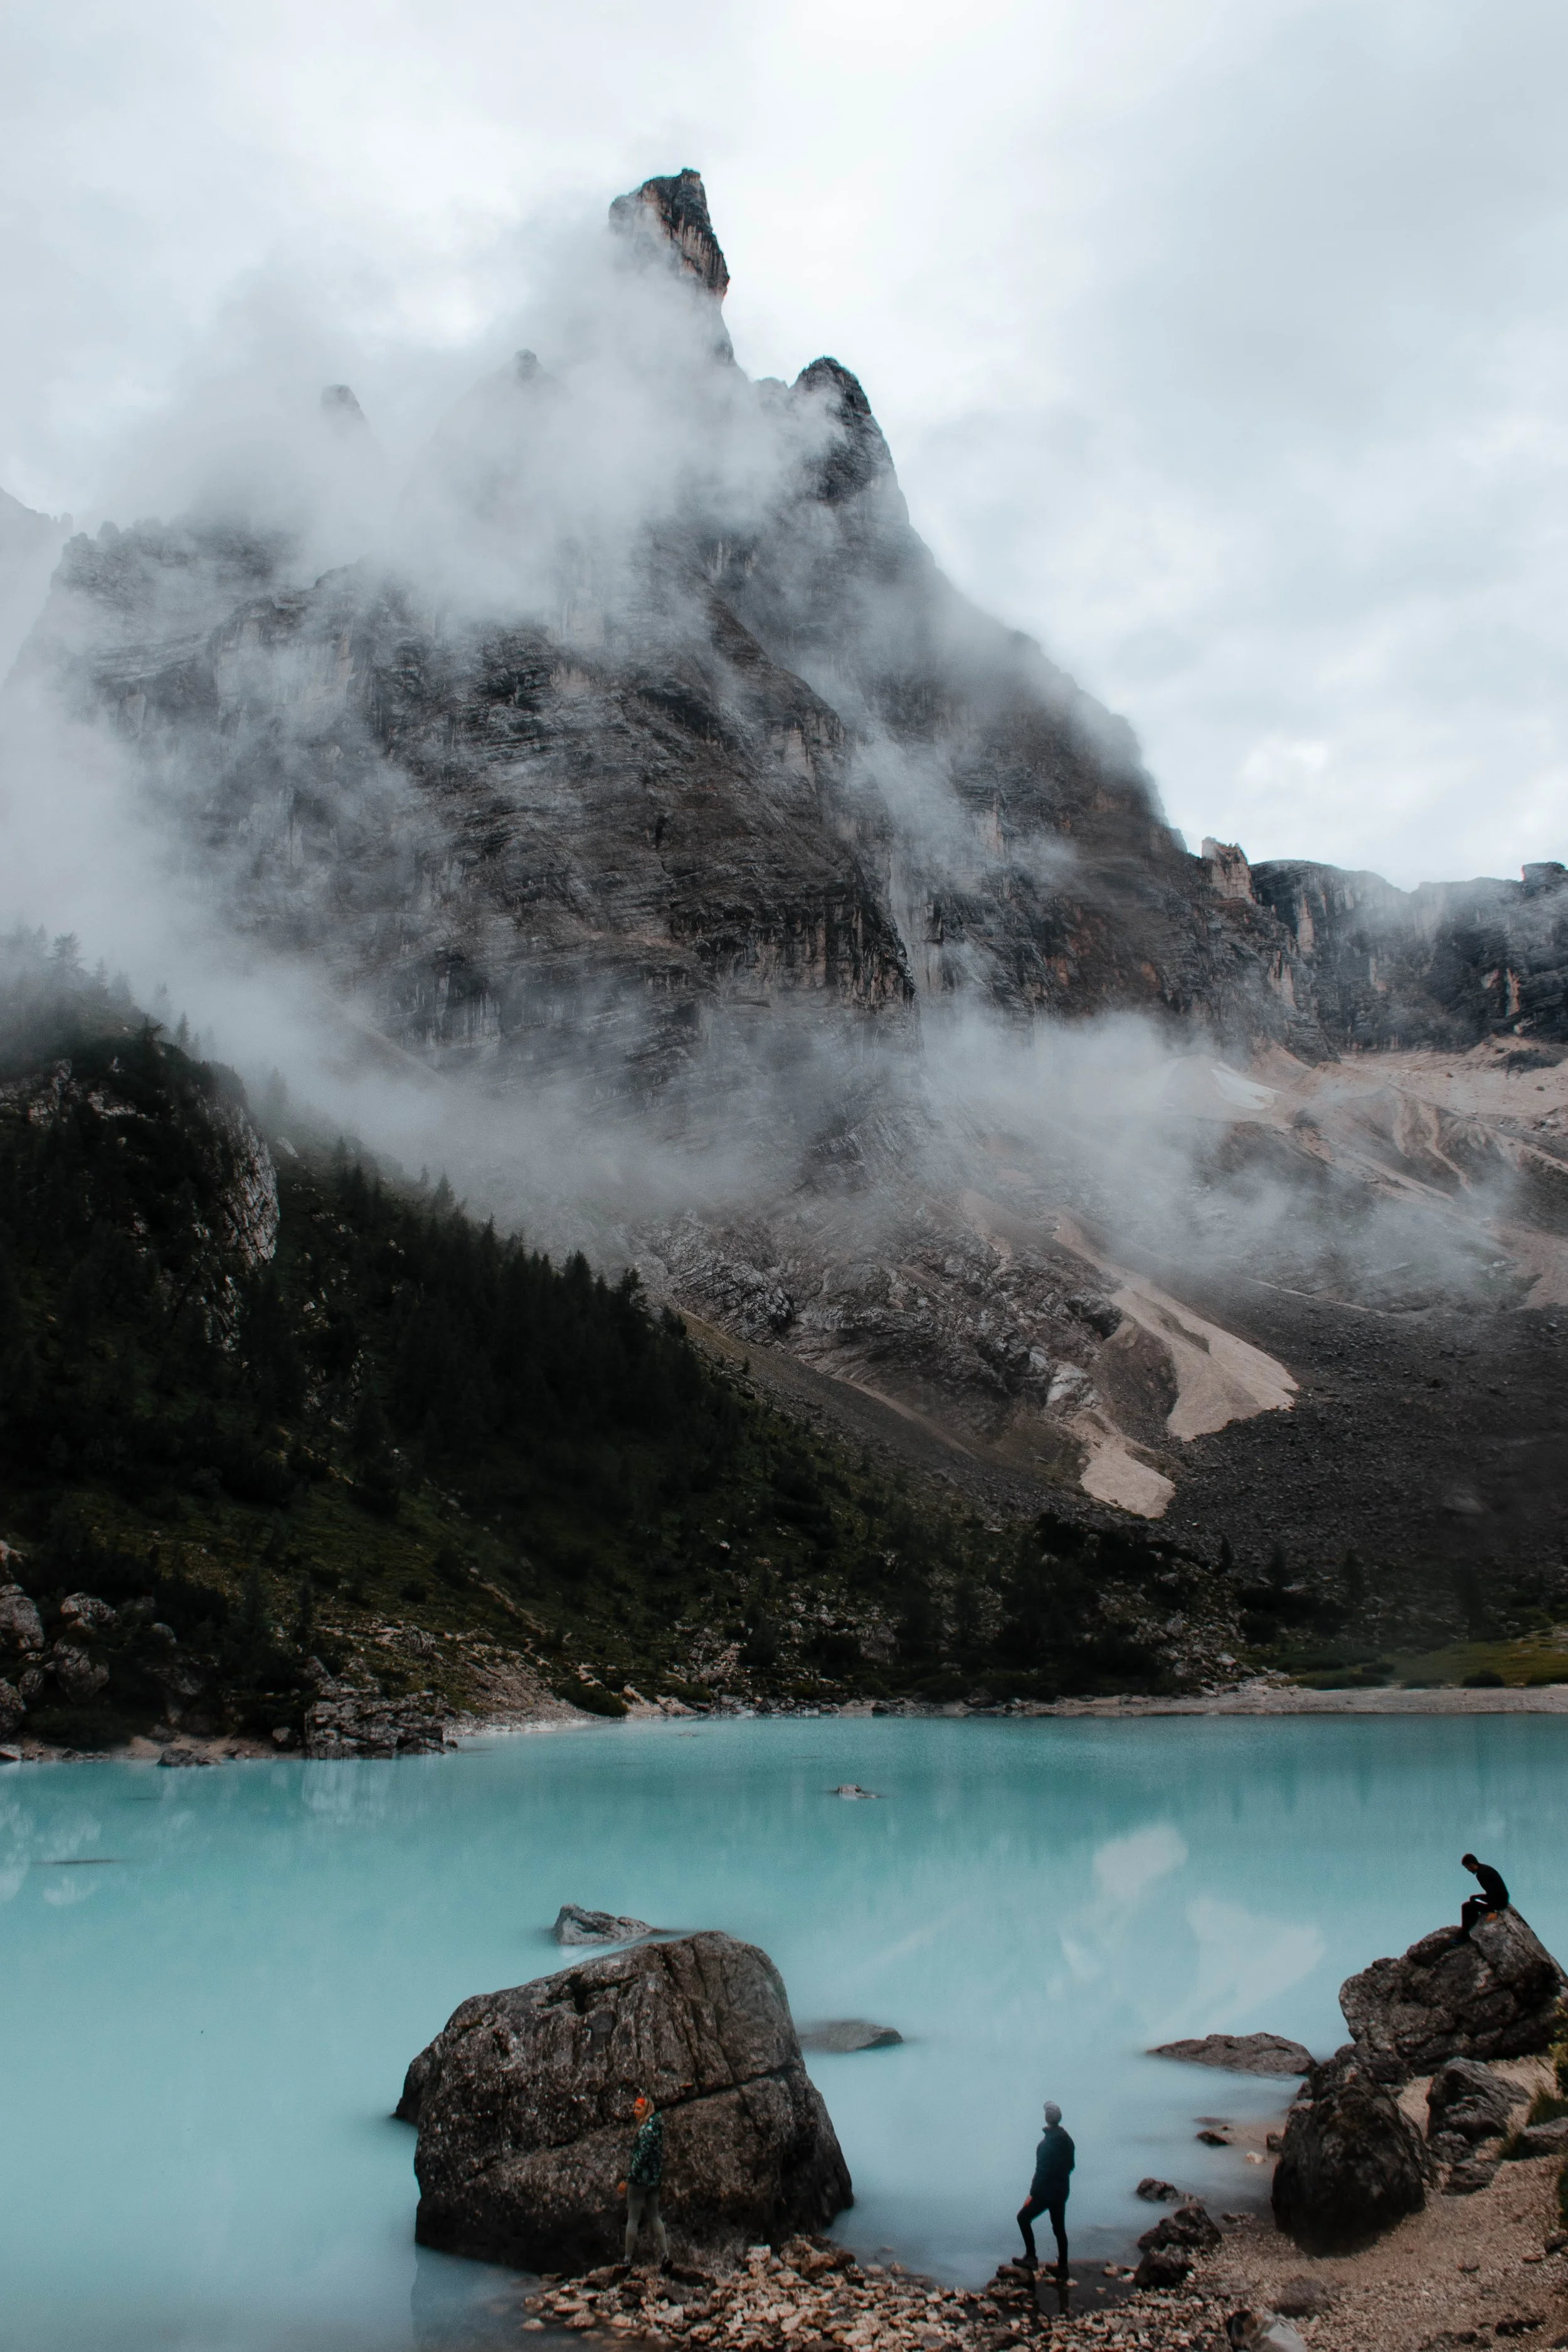
Hikers admiring Dito di Dio above Lago di Sorapis
2. Create a sense of immersion by surrounding people with nature
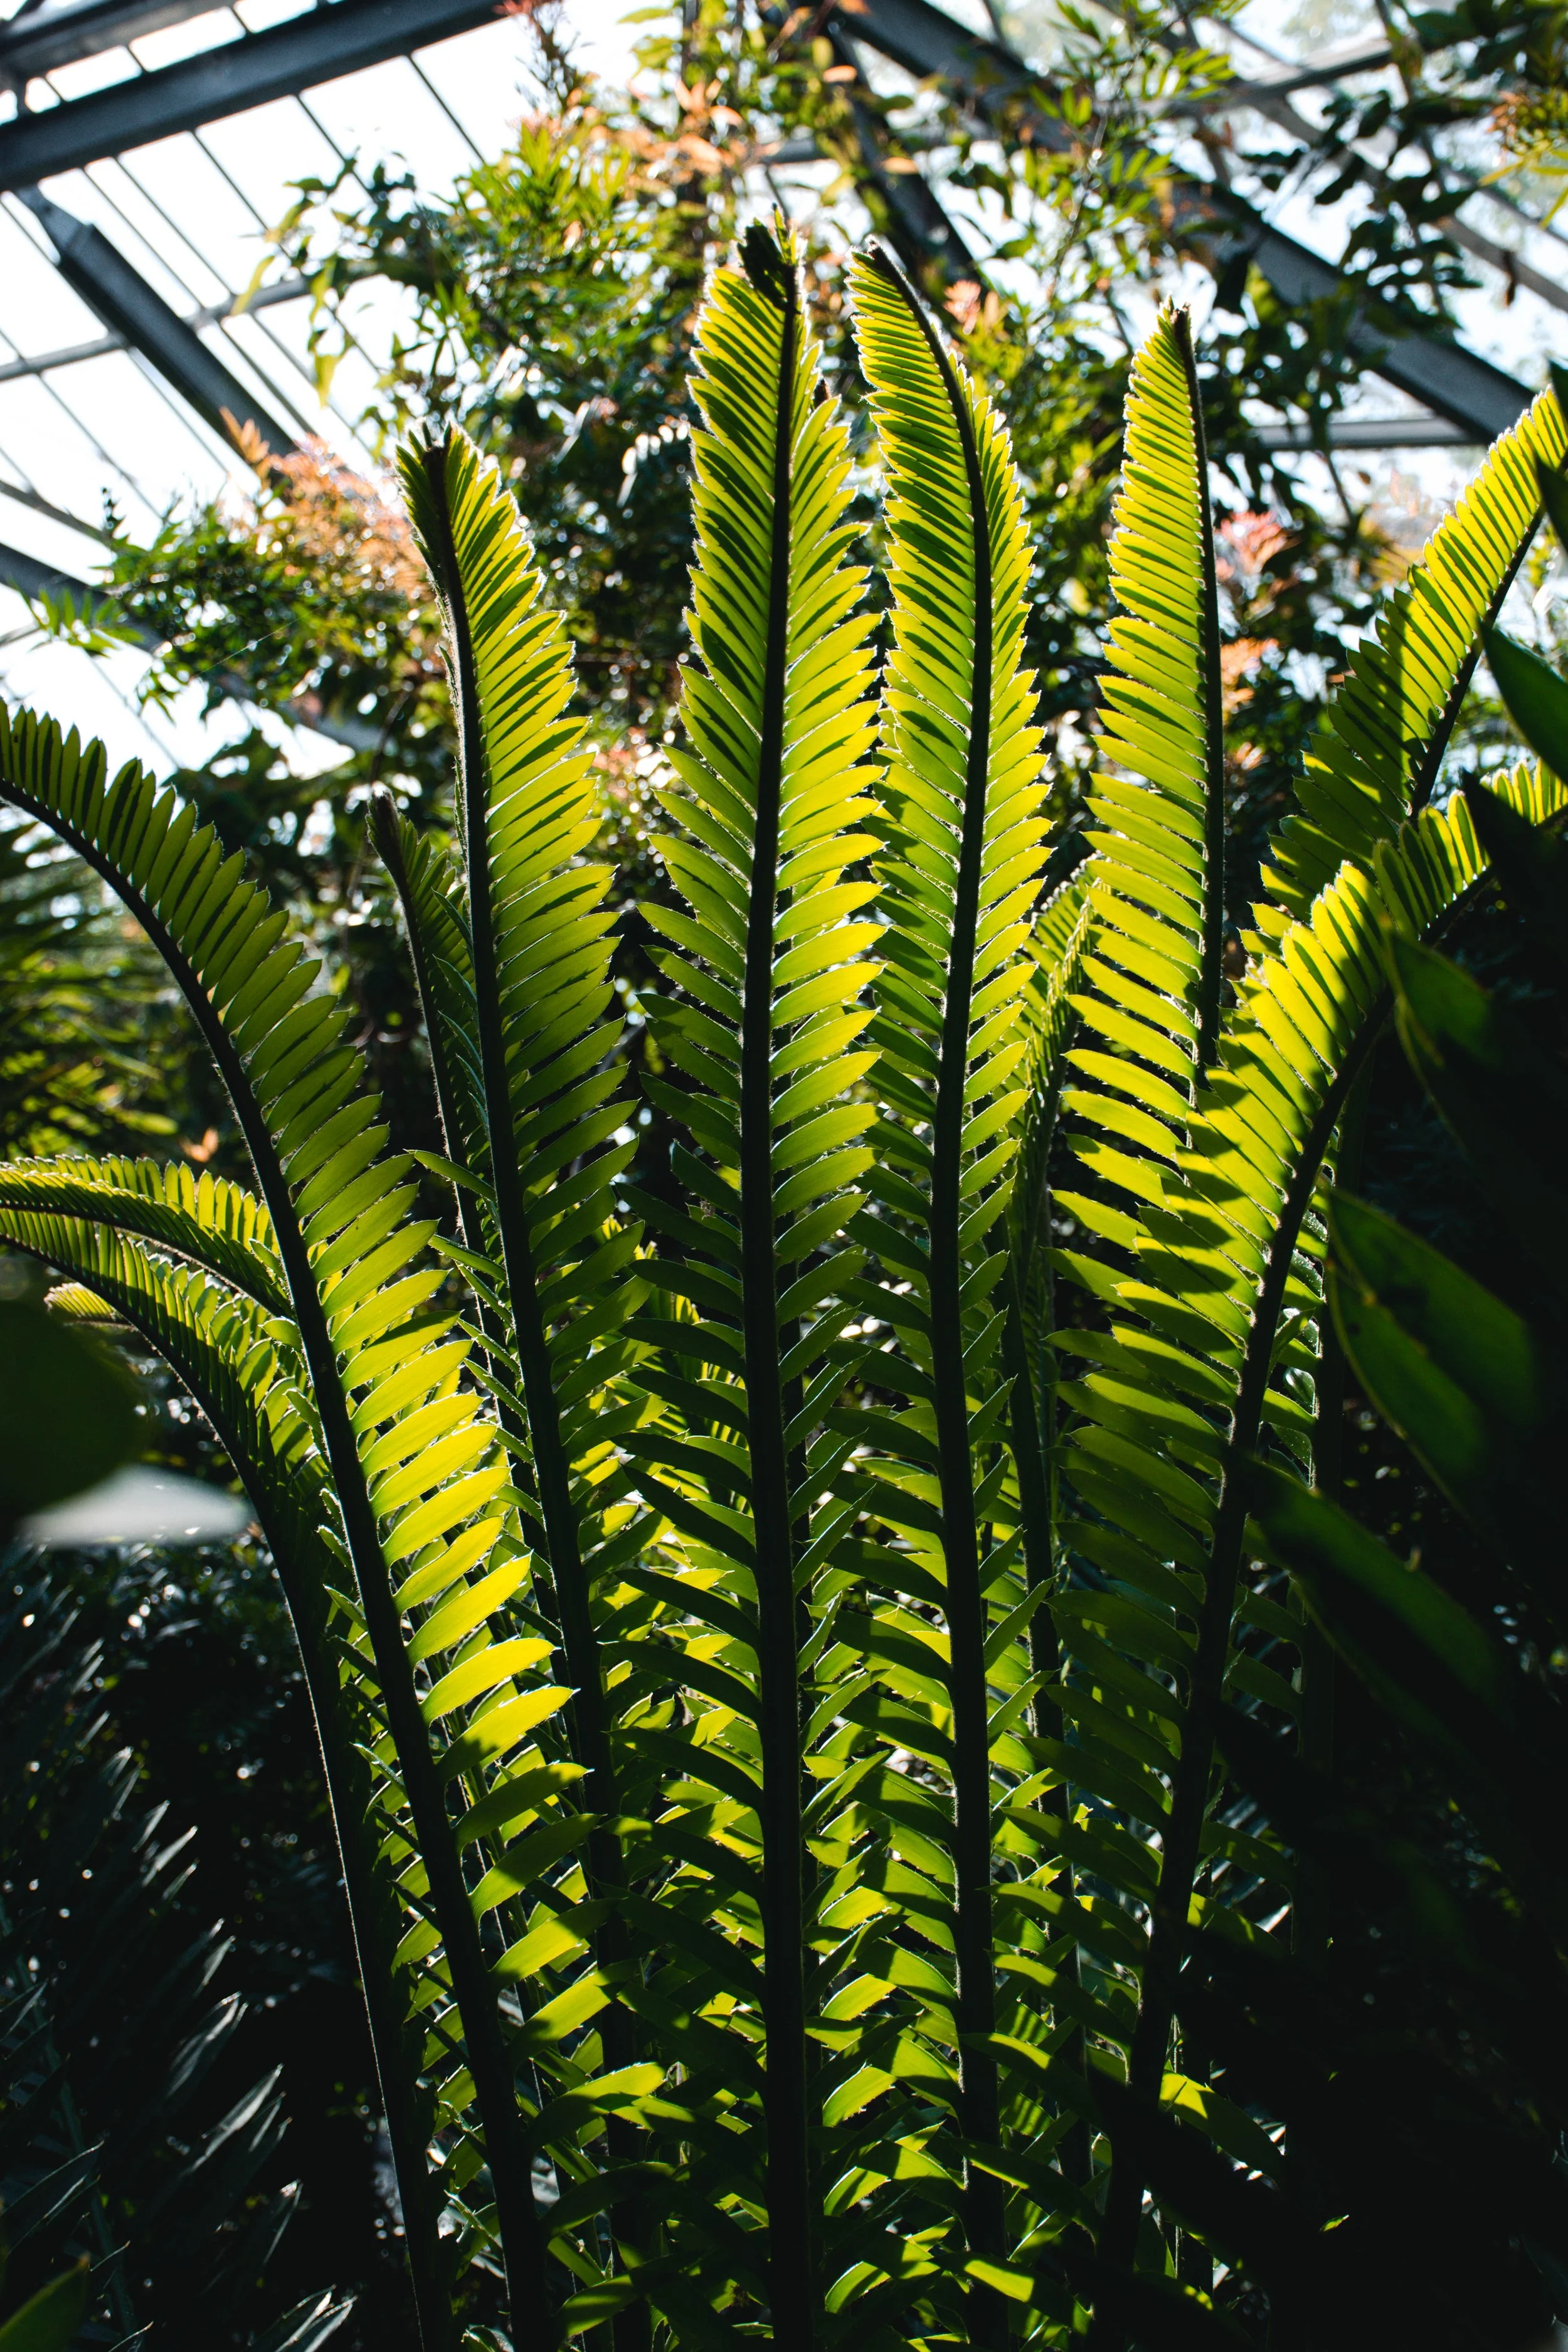
Adding people to your images can not only help to convey vastness — but also create a sense of immersion.
Let’s say you’re in a thick forest or a beautiful lush jungle. You know what it feels like to be in a place like that. But how do you convey that feeling of being consumed by nature to the viewer? Once again, you can use people.
A hiker admiring the large plants that surround him, a couple walking hand in hand in an enchanting forest, or a young woman overlooking a landscape covered in snow, all of them up close and personal with nature.
By making the human the centre of the scene and surrounding him closely with elements of the landscape you’re in, you give the viewer the feeling of being there in the moment with you.

Walking in the magical Fanal Forest on Madeira

Surrounded by Madeira’s lush plants
3. Work with the weather, not against it
A lot of advice on the Internet will say that you should only shoot during blue and golden hours, avoid midday sun at all costs, and just generally limit yourself to specific times of the day when shooting outdoors.
But here’s the thing. When you live in a city and only get to spend time in the proper outdoors on vacations or day trips, you don’t always have the luxury of waiting to see if those hours turn out well or not in terms of weather.
Maybe the sky will be covered in clouds and instead of a sunrise, all you’ll see are swathes of grey. Maybe it rains like hell.

Cotton candy skies — sunset in the Swiss Alps
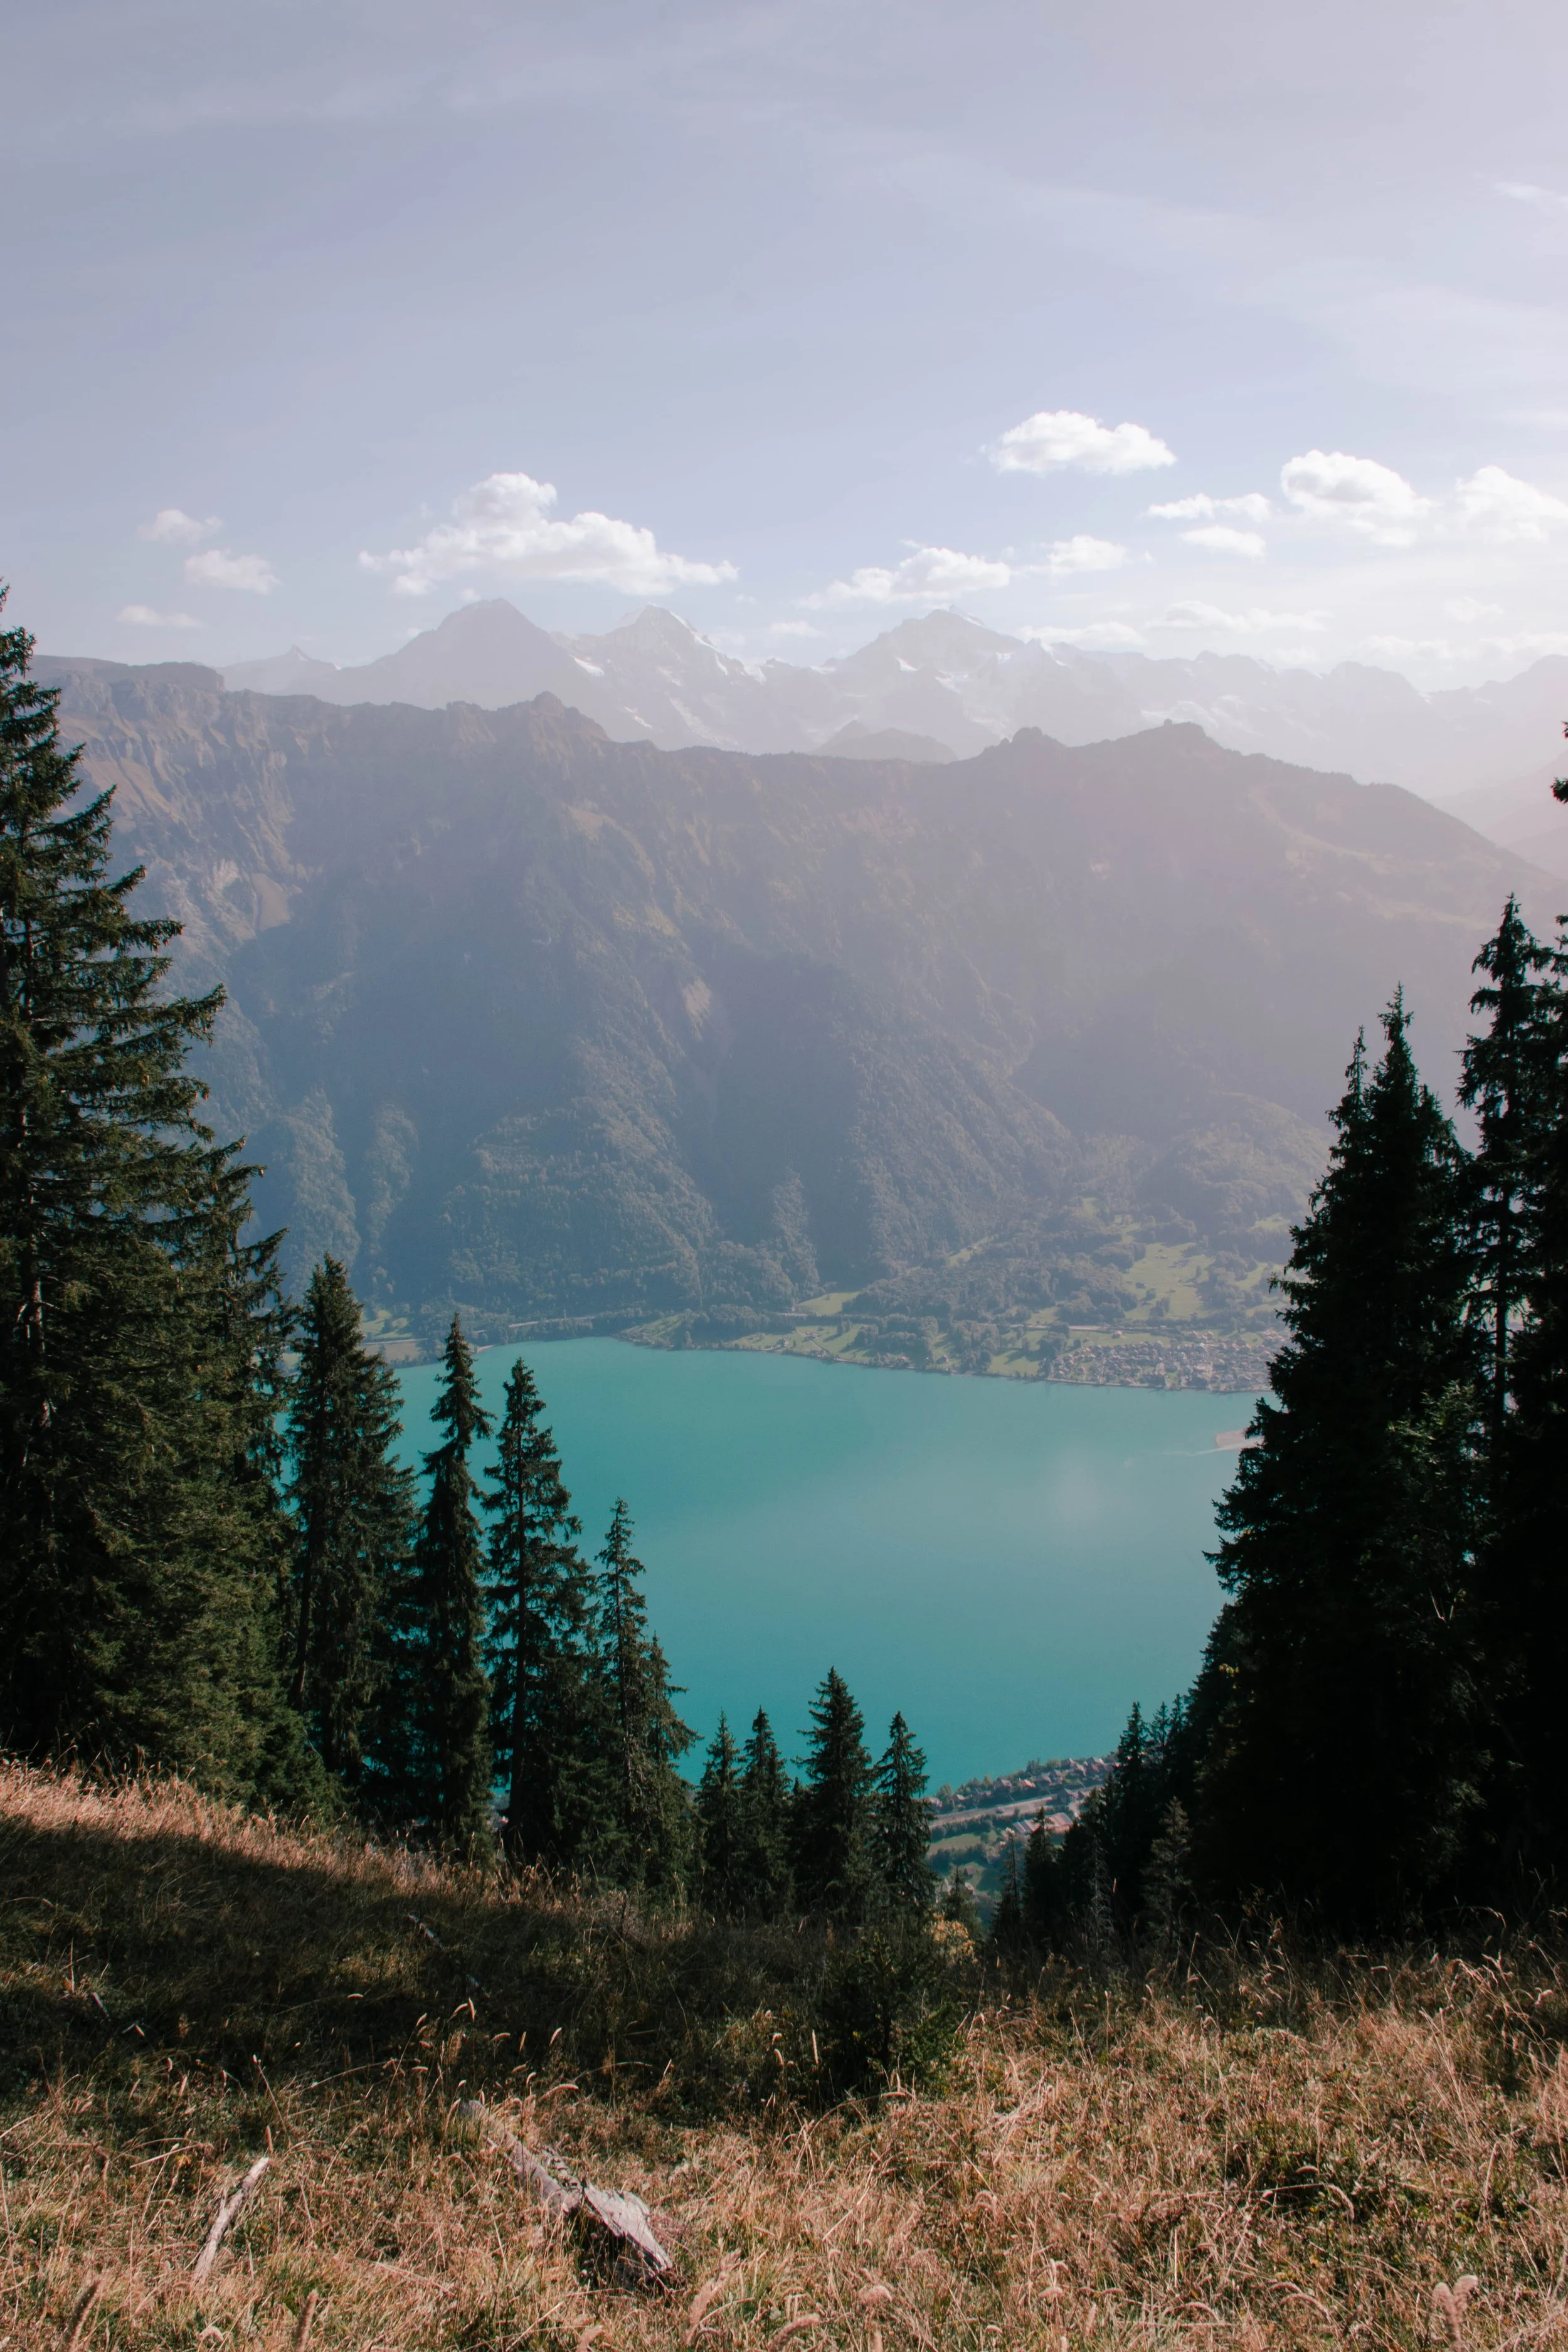
The good news is — you don’t need perfect weather to capture great outdoor photographs. In fact, variations in weather conditions can add great variety to your portfolio.
Don’t get me wrong, it’s great to shoot during the first and last light of the day. Cotton candy skies of sunrise and sunset lend places a magical, almost fairy-tale-like feel which can be translated into some dreamy pictures.
Golden hour is perfect for sunlit scenes and offers a wonderful opportunity to play with lens flare or shoot backlit subjects.
Light play in Hortus Botanicus, Amsterdam
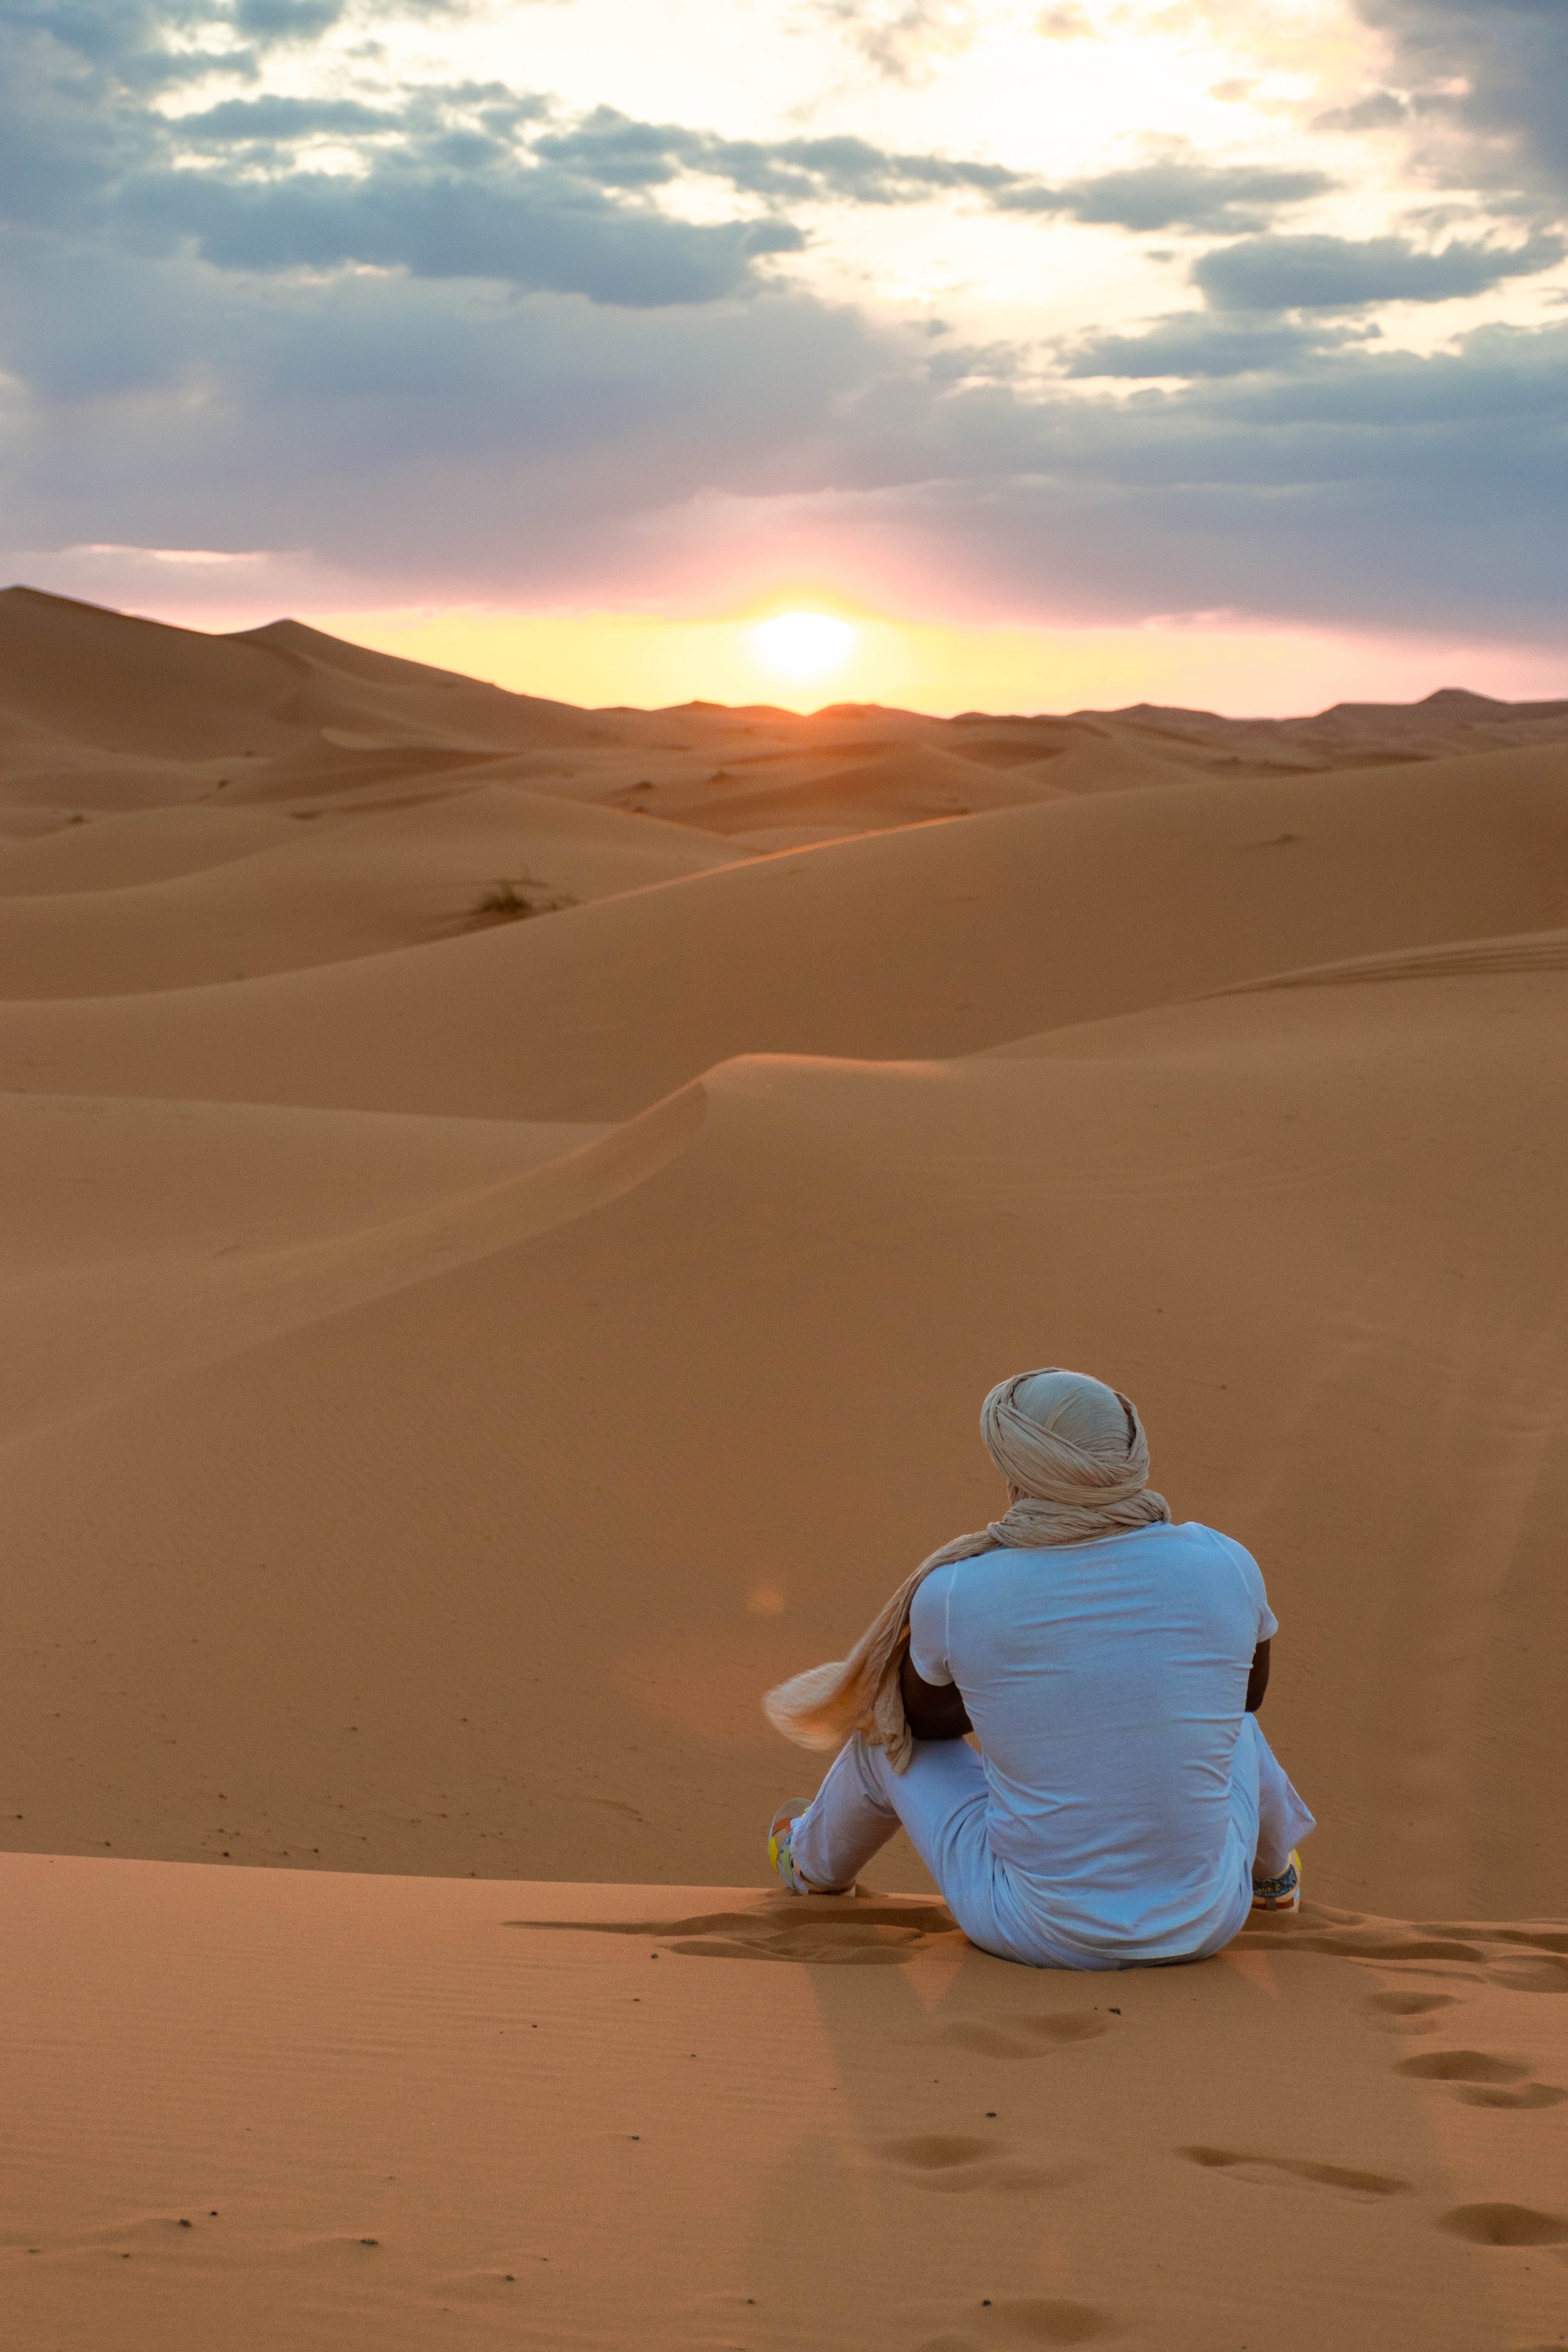
Golden hour in the Sahara
In the middle of the day when the sun is high above the horizon, it’s the contours and textures of mountainous landscapes that really come out.
On the other hand, conditions such as fog or drizzle can give your photos more of a darker, moodier vibe, and are a great contrast to the sunnier scenes. What is more, you can use elements like drops of rain to add something unique to your photos.
Sometimes it’s a collection if pictures that tell the story the best — not just a singular image.

Quite a contrast to a sunny day

Fog can lend places mystical atmosphere
4. Experiment with the focal point
Focus is a crucial concept in photography — and a very powerful way to direct viewers’ attention. It’s not just about how much of the image is in focus, but also which elements are in focus and which are not. By playing around with that, you can create a set of completely different images of the very same place.
Do you want to focus on the person and have the landscape support the entire scene? Or do you want to show that there is a person, but it’s the landscape behind them that should draw the viewer’s attention?
What is more important? The detail of the flowers in the foreground of a majestic peak? Or is it the peak that you want to capture and the flowers are just a detail that helps to frame the entire scene?
Those are some questions you can ask yourself next time you’re shooting in the outdoors. There is no right or wrong answer. It’s just about finding the best way to say what you want to say.
When in doubt, take a couple of different shots of the same scene — but always put a different subject in focus. This is not only a great way to practice, but it also allows you to choose your favourite image later on.


Seceda ridgeline is a clear focus of the image on the left. Details of the purple flowers are in contrast a focal point of the image on the right.
5. Play around with your edits
When I was starting out with photography, I used to be super against editing. Somehow, I felt like editing photos was making them less “real.” As if instead of portraying reality, I was sharing a “lie.”
Only much later, a few years into my photography journey, did I realise that RAW files from your camera don’t necessarily represent reality either. At least not in the way you see it with your eyes, with all the vibrant colours.
Editing can breathe life back into your photos. A bland RAW file suddenly gets back all the rich colour and character that you experience when you’re there in the scene.
It can also help give your photo a specific mood. Maybe you want your photos to feel light and airy, so you brighten the image a little or add more whites. Maybe you’re going for an elegant look with neutral, toned-down colours. Or maybe you want to convey more of a moody vibe, so you reduce contrast and darken the image.
All of these decisions will affect what feeling your final image conveys. The possibilities to play with light, contrast, and colours are practically endless and it’s only up to you what story you want to tell with your edits.


Pink hues in the image on the left lend the landscape of Ponta de Sāo Lourenço almost a fairy-tale like feel. On the other hand, accented blacks and saturated blues in the image on the right put more focus on the sea and give the landscape sharper contours.

Pink and golden tones added to the highlights and shadows in post-processing give the image on the left a film-like look. In contrast, the image on the right accentuates the natural colours of the landscape — greens and blues.
These five outdoor photography tips are great starting point to take your craft to the next level. Go out, experiment, and decide for yourself what you want to keep in your arsenal of photography techniques.


What outdoor photography tips would you add to the list? Let me know in the comments!